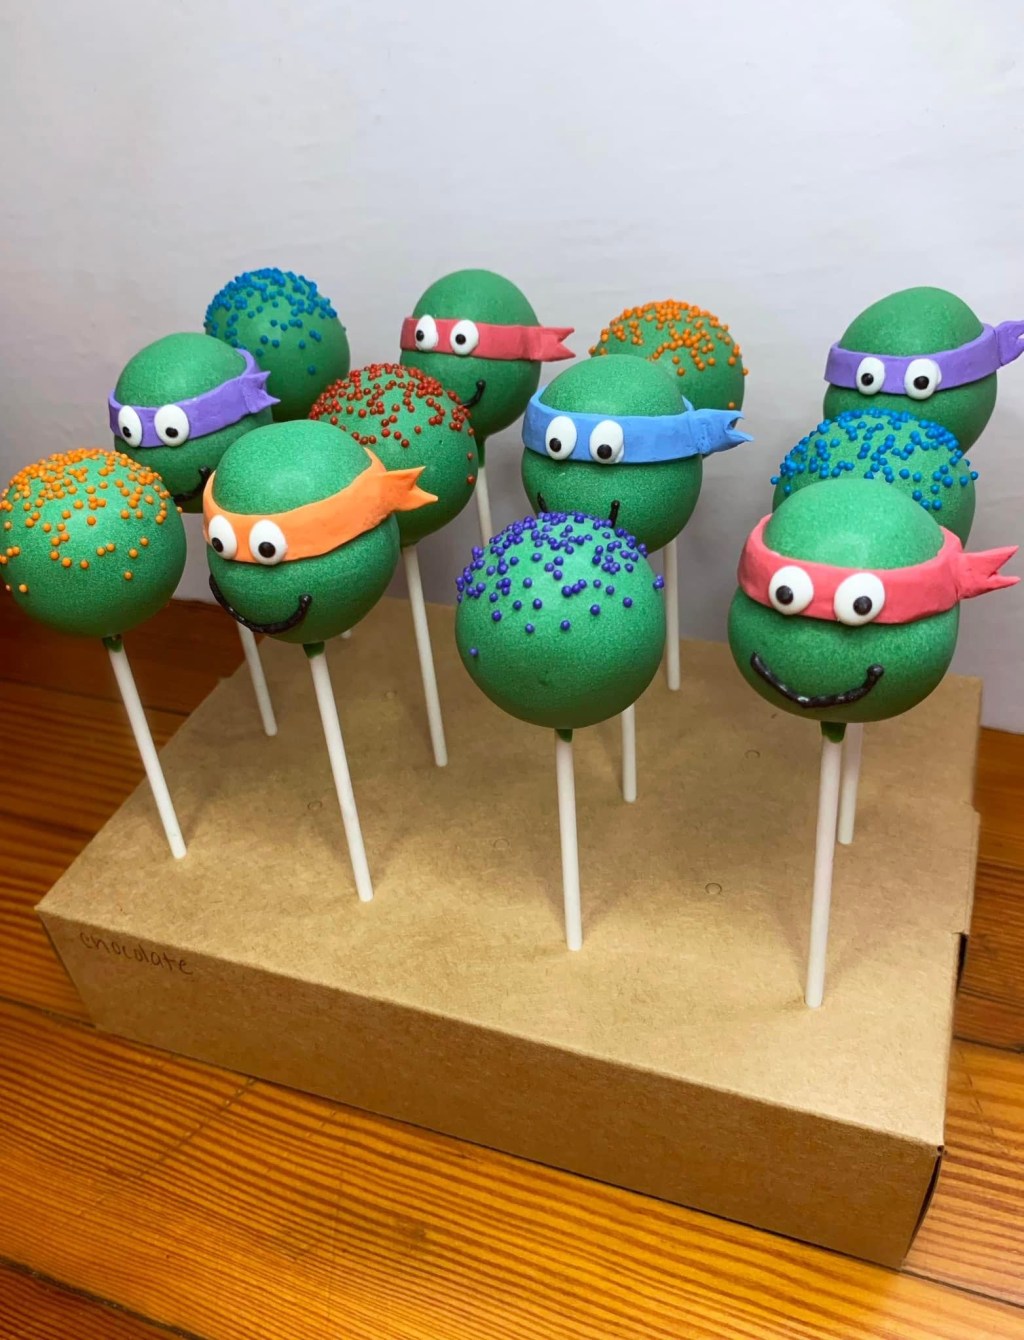

These were the cake pops that I thought about for weeks leading up to the time I needed to complete them. It involved shaping the head, figuring out the masks, the eyes…and I don’t view myself overly artistic, so I hoped I could pull it off! I think they turned out so cute.
SUPPLY LIST:
- Cake pop sticks
- Scribe tool or toothpick
- Green candy melts
- Black candy melts (for the eyes and smile)
- Stover & Company Sweet Shoppe Ultra White melting wafers (for the eyes)
For directions on how I make my cake pop dough, click here!
For directions on how I make modeling chocolate at home with only two ingredients, click here! Continue below to continue reading the steps!
Step-by-step:
1. Roll cake pop dough into an oval shape. Using cake pop stick, make a dent into the dough about 60% up the dough ball to begin shaping the turtle head.

2. Dip the shaped turtle head into the green candy melts, pop any air bubbles with the scribe or toothpick. Let dry.
3. Cut modeling chocolate into 3″ strips, and a small “flag” shape for the end.
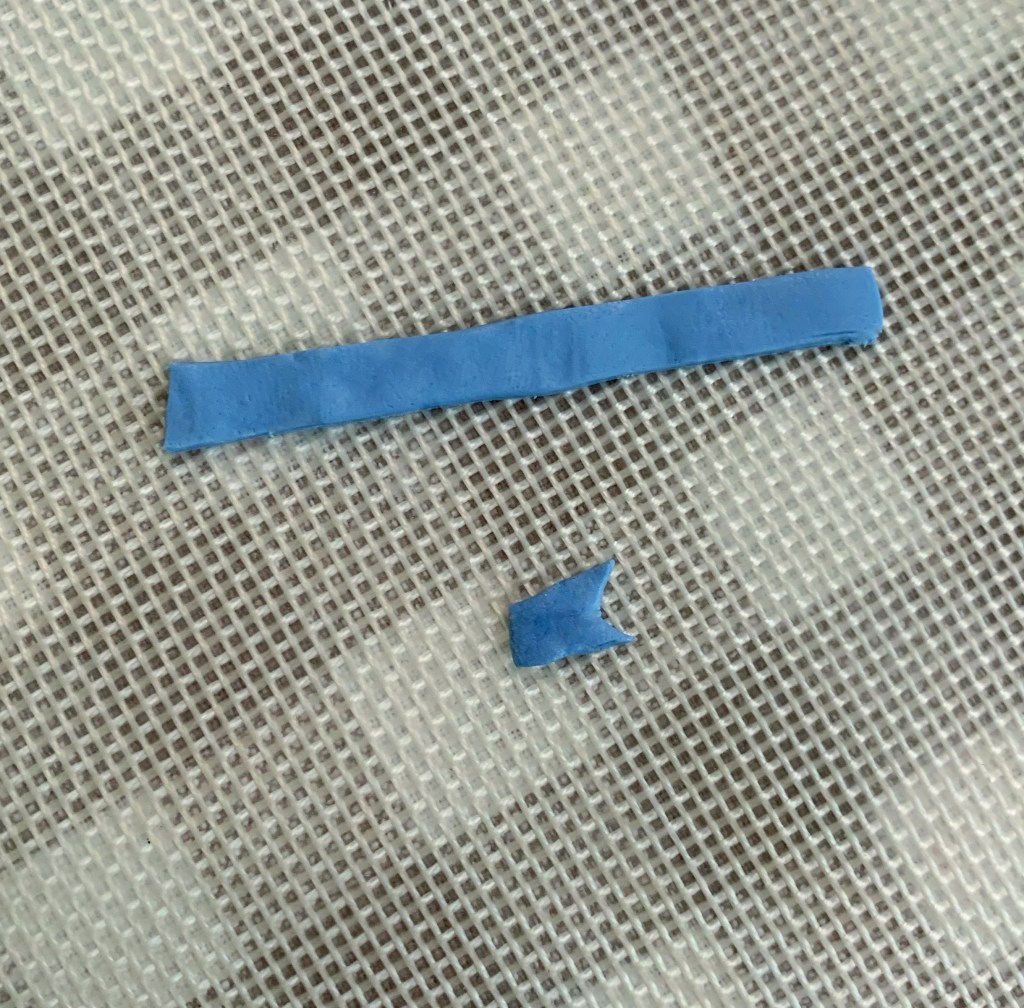
4. Put the strip around the turtle head to become the mask. Add the “flag” to the side of the mask, and smooth it down with a toothpick.
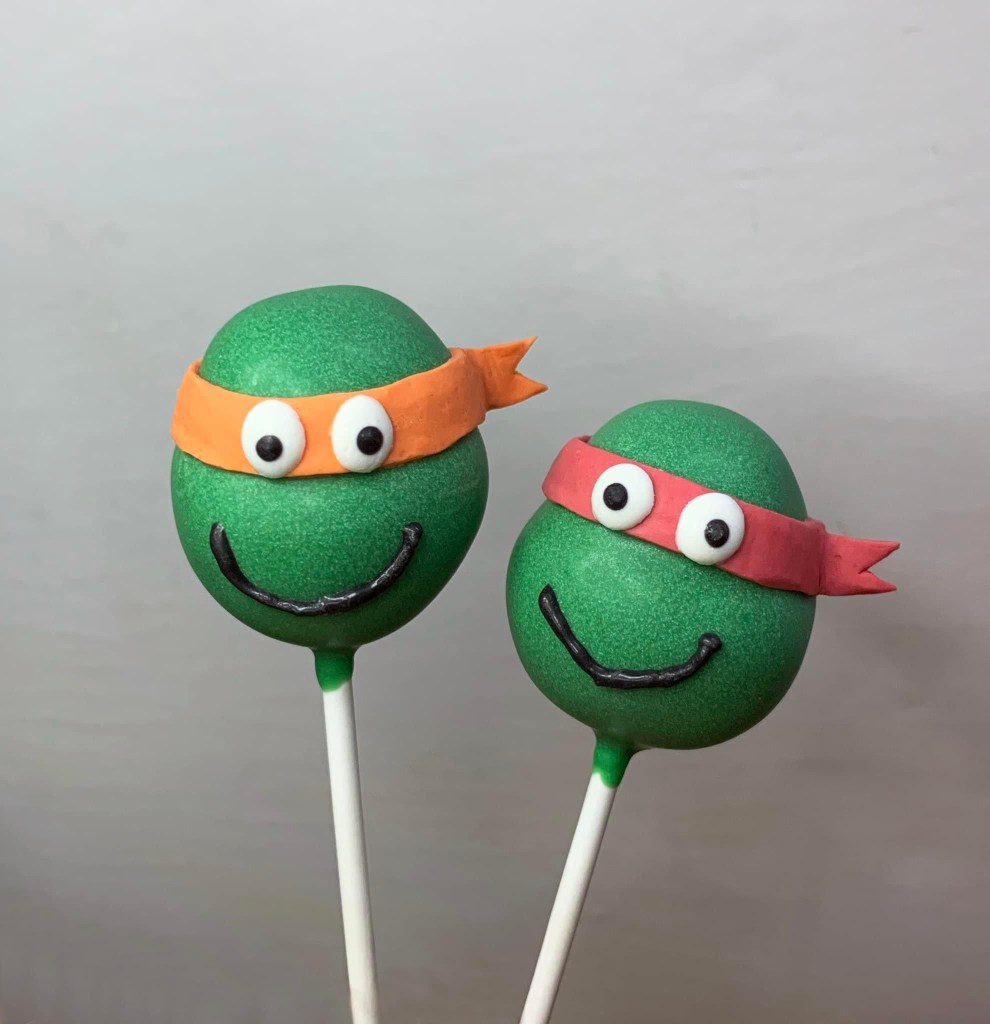
5. *I make all eyes on parchment paper first* Make ovals with white candy melts, and immediately add a dot of black candy melts to make the eye more cohesive. It usually takes me a bunch of eyes to find ones that match!
6. Add a pair of eyes to the mask, and make a smile with black candy melts.

7. For this set, I also made regular ball shaped cake pops, dipped in the green candy melts, with nonpareil sprinkles on top!
Some of the links above are affiliate links. This means that, at no cost to you, I will earn an affiliate commission if you click through the link and finalize a purchase.

Leave a comment