

These baseball cake pops in miniature ice cream cones were my most popular treat in the spring. Many moms used these to hand out on their night as “treat mom”. As an added bonus, I put M&M’s in all my cones as a surprise!
supply list:
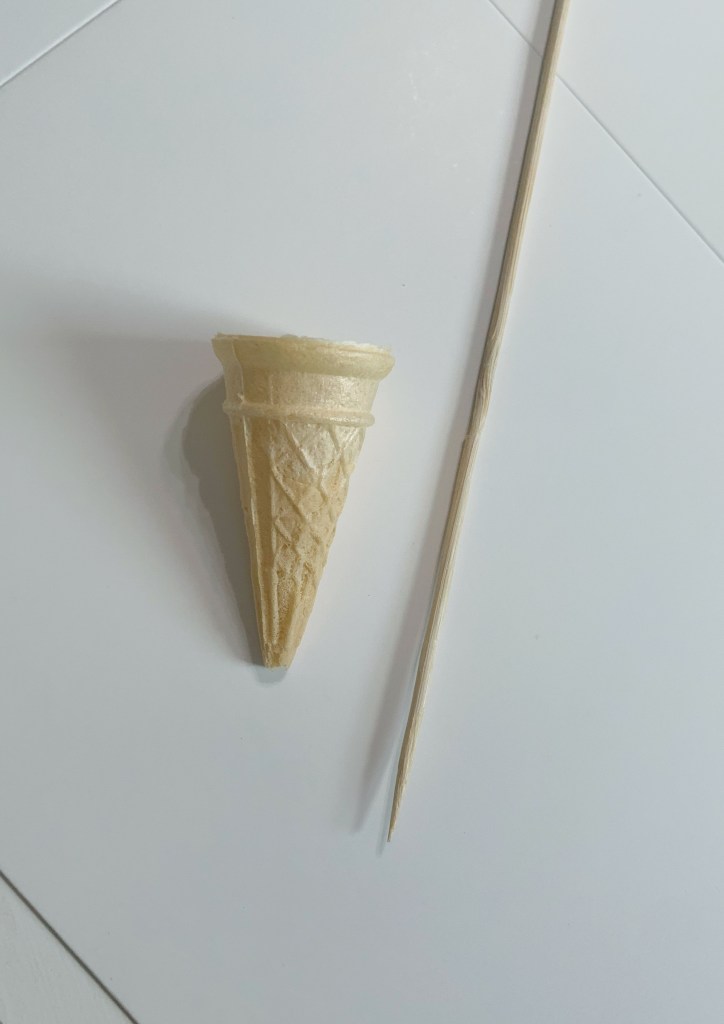
- Cake pop sticks
- Scribe tool or toothpick
- Miniature ice cream cones
- Stover & Company Sweet Shoppe Ultra White melting wafers
- Red candy melts
For directions on how I make my cake pop dough, click here! Continue below to continue reading the steps!
step-by-step:
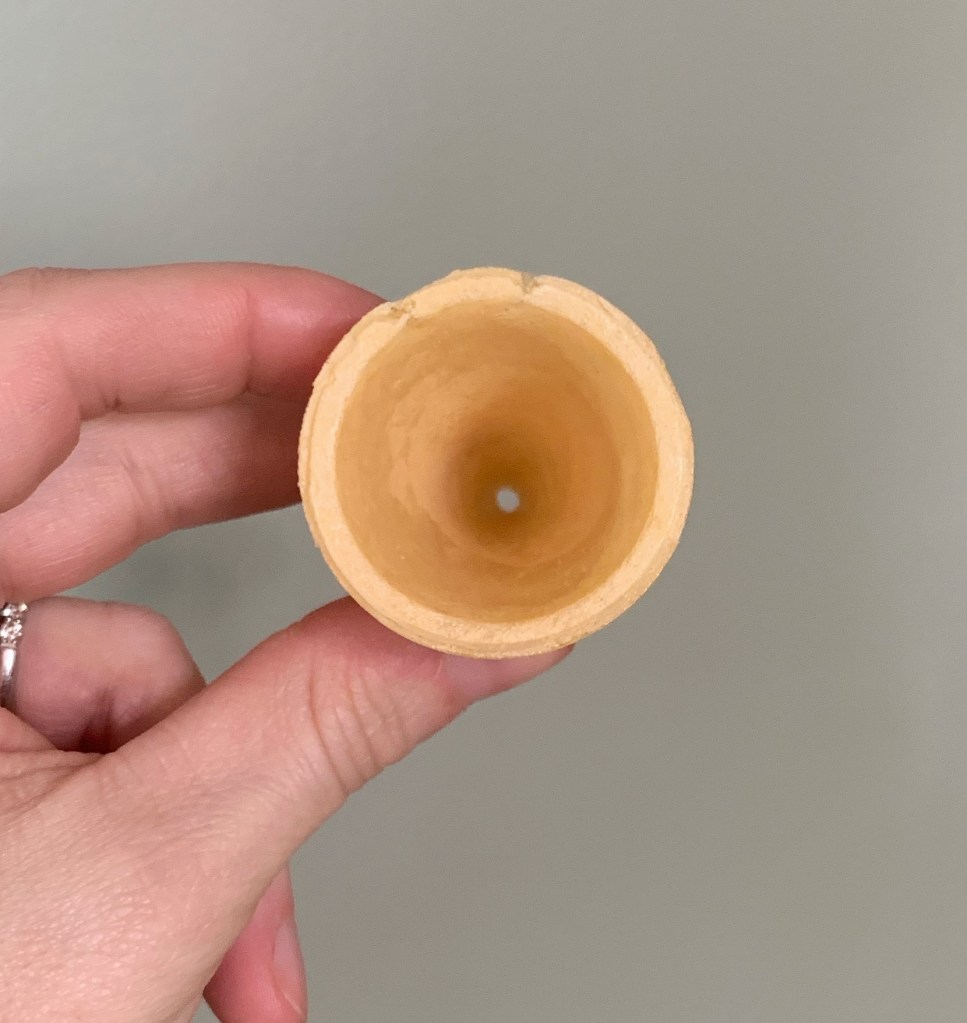
1. Prepare the miniature ice cream cones first. I use a kabob stick to poke holes in the bottom of the ice cream cones, but using a scribe tool also works.
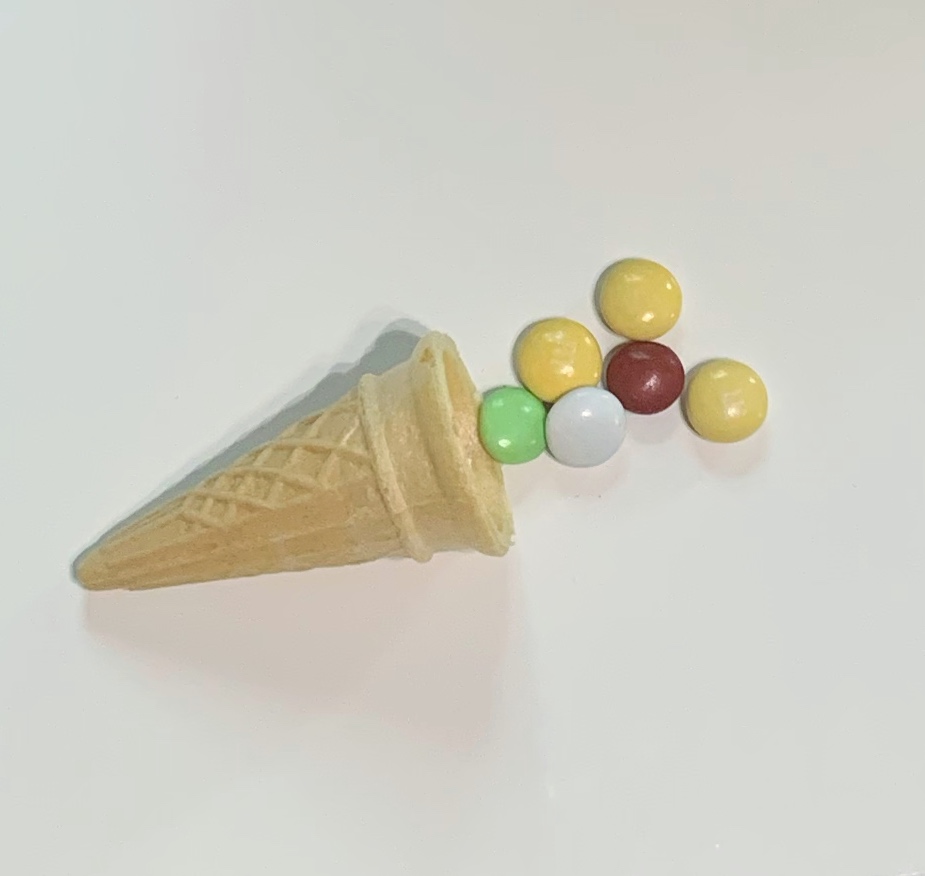
2. I put 6 M&M’s inside the ice cream cone as a sweet surprise!
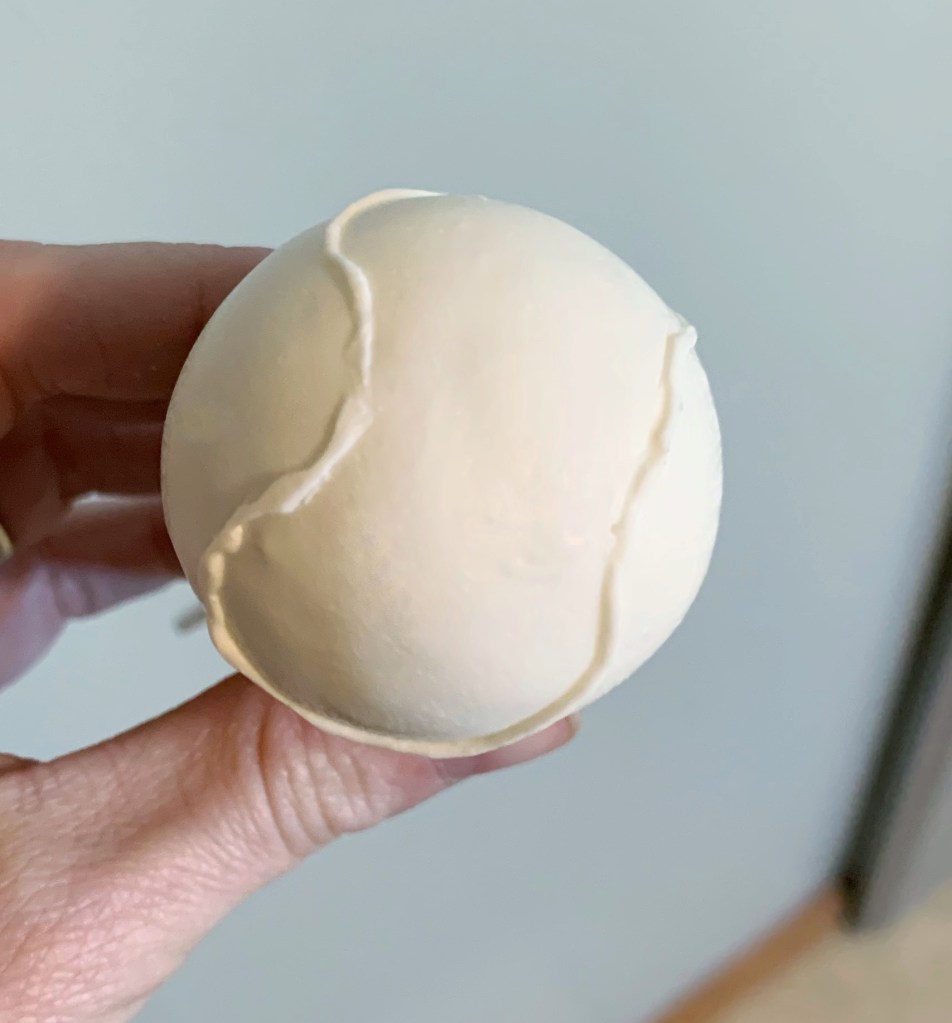
3. Dip cake pop dough in white melting wafers. I use Stover & Company Sweet Shoppe Ultra White melting wafers. Pop any air bubbles with the toothpick or scribe tool.
4. Slide cake pop stick through hole inside the ice cream cone so the cake ball rests on the cone. Let dry.
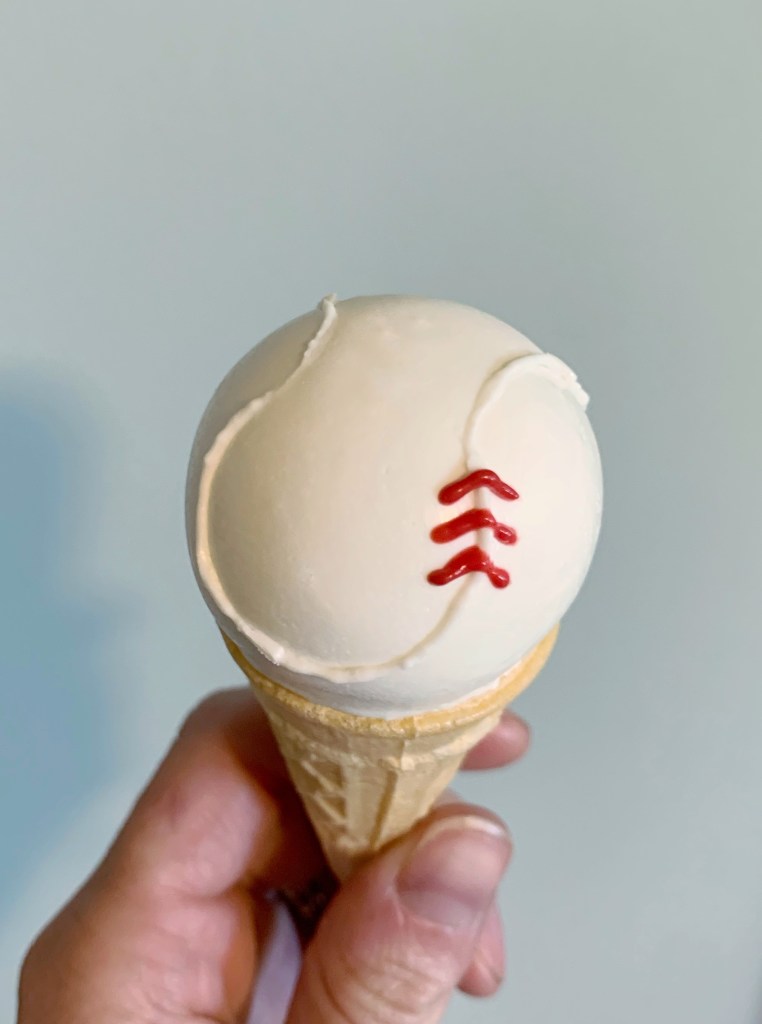
5. Put white melting wafers in a piping bag or Ziploc bag and make small hole to pipe.
6. Pipe a white line for where the stitching will go. This does NOT have to be perfect. This is always the hardest part for me! Keep practicing, it gets easier!
7. Put red candy melts in a piping bag or Ziploc bag. Make tiny V shapes around the entire white piped line, to apply the base ball stitching.
*Tip – keep piping bags on a heating pad between use to keep the chocolate melted and pliable during application
8. Continue piping red V’s around the whole ball until you complete the stitching.
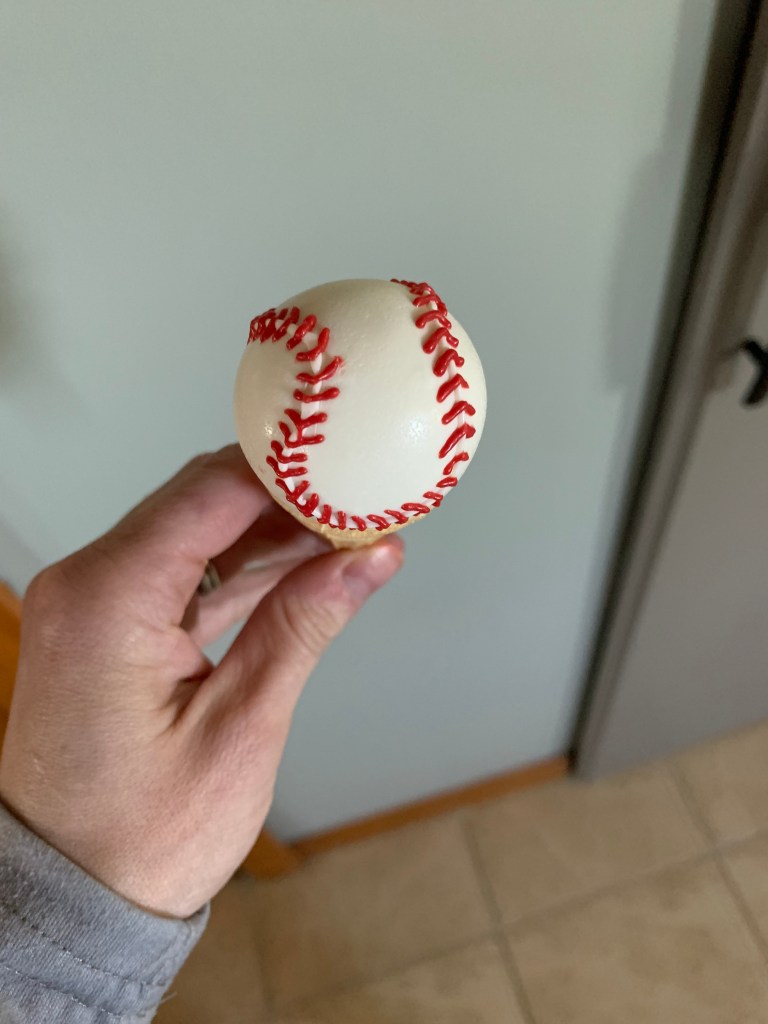
Look how nicely the red stitching hides the imperfections of the piped white line underneath!
Some of the links above are affiliate links. This means that, at no cost to you, I will earn an affiliate commission if you click through the link and finalize a purchase.

Leave a comment