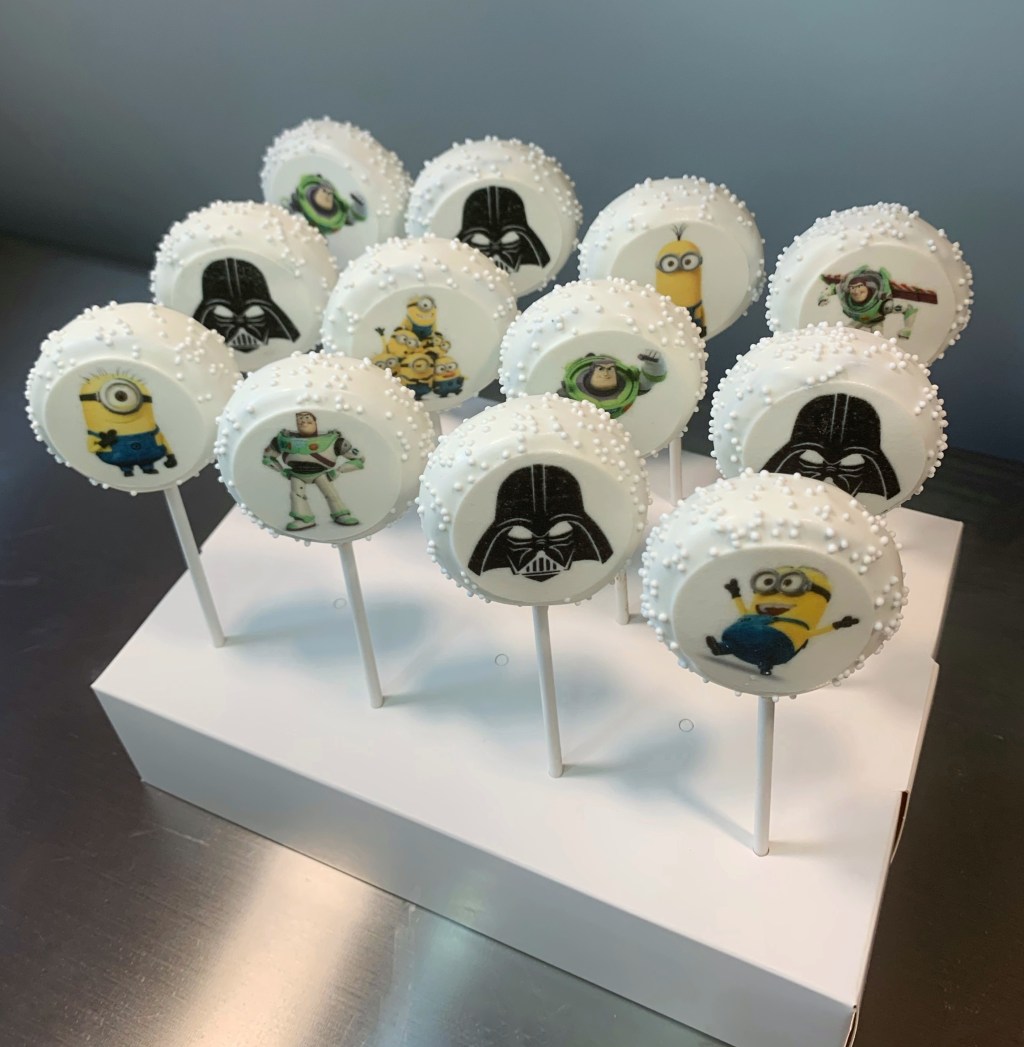
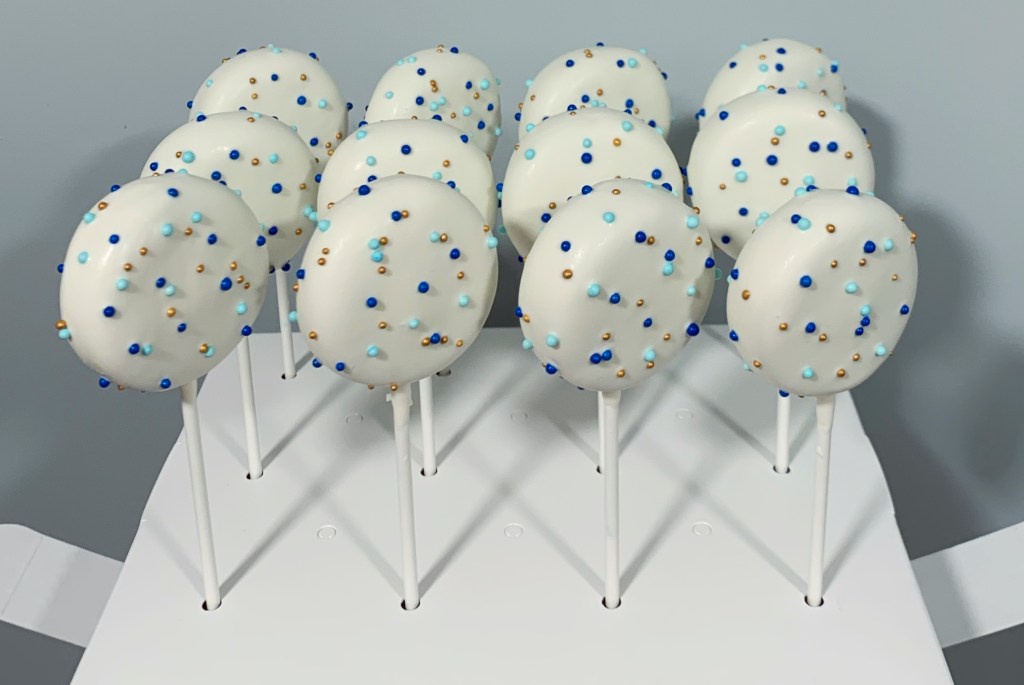
All the hype these days! A fun twist on the conventional cake pop ball.
What’s So Great About This Shape?
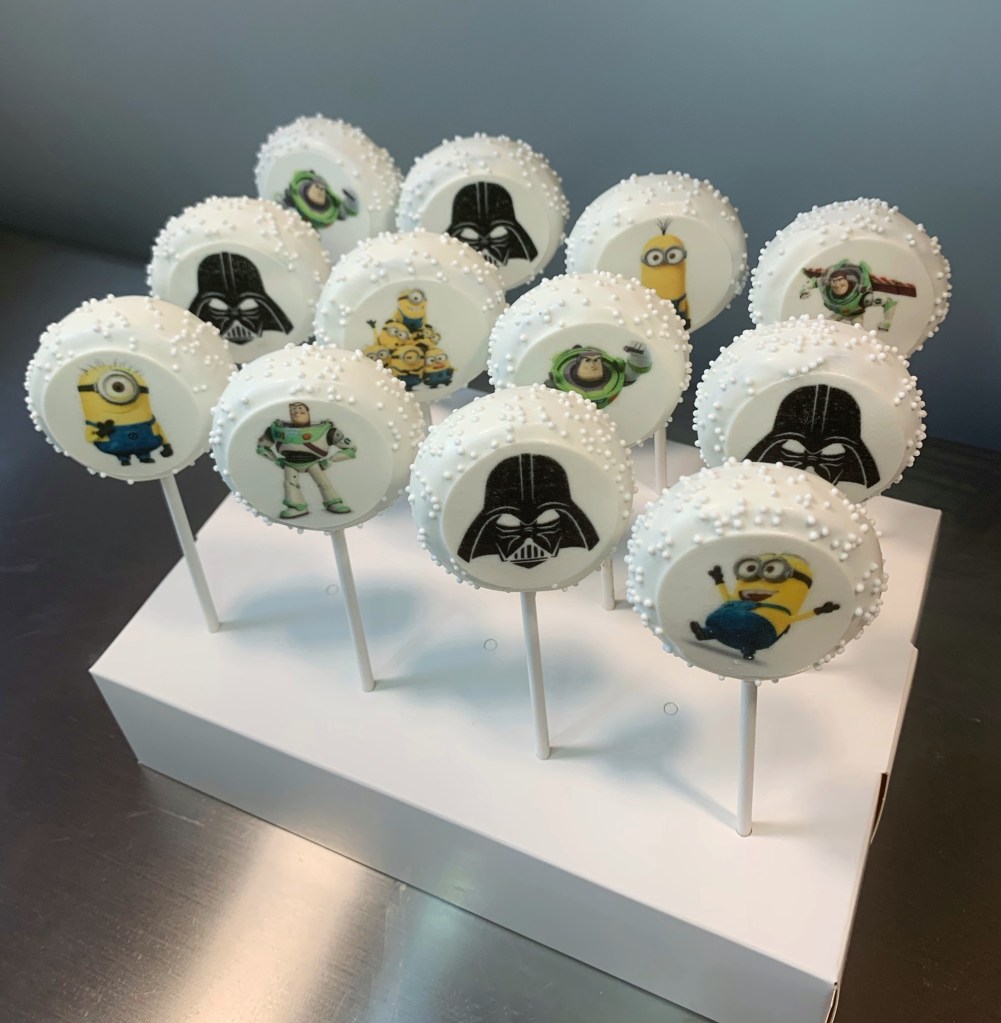
Great question! My favorite part of the cake pop being flat and disk shaped is that they are easier to bit into, especially for kids with smaller mouths. I prefer this shape when preparing cake pops to send to daycares/nursery schools, as they’re cleaner and easier to eat for that age range.
Another perk of the flat, disk shape, is the ability to add edible images! Edible images are 1.5″.
Supplies:
- Rolling Pin with 1/2″ thickness ring included
- Circle cookie cutter. I use the smallest one, about 1.75″
For directions on how I make my cake pop dough, click here! Continue below to continue reading the steps!
Step-by-step:
- First I knead by prepared cake pop dough for a few minutes to get warm it up a bit and get it to the proper consistency
- Lay out a piece of parchment paper, add cake pop dough, and another piece of parchment paper on top to keep the rolling pin clean.
- Using the rolling pin with the 1/2″ guide on, roll your cake pop dough to 1/2″ thickness.
- Use 1.75″ inch round cookie cutter to cut circles.
- Gently push dough out of ring
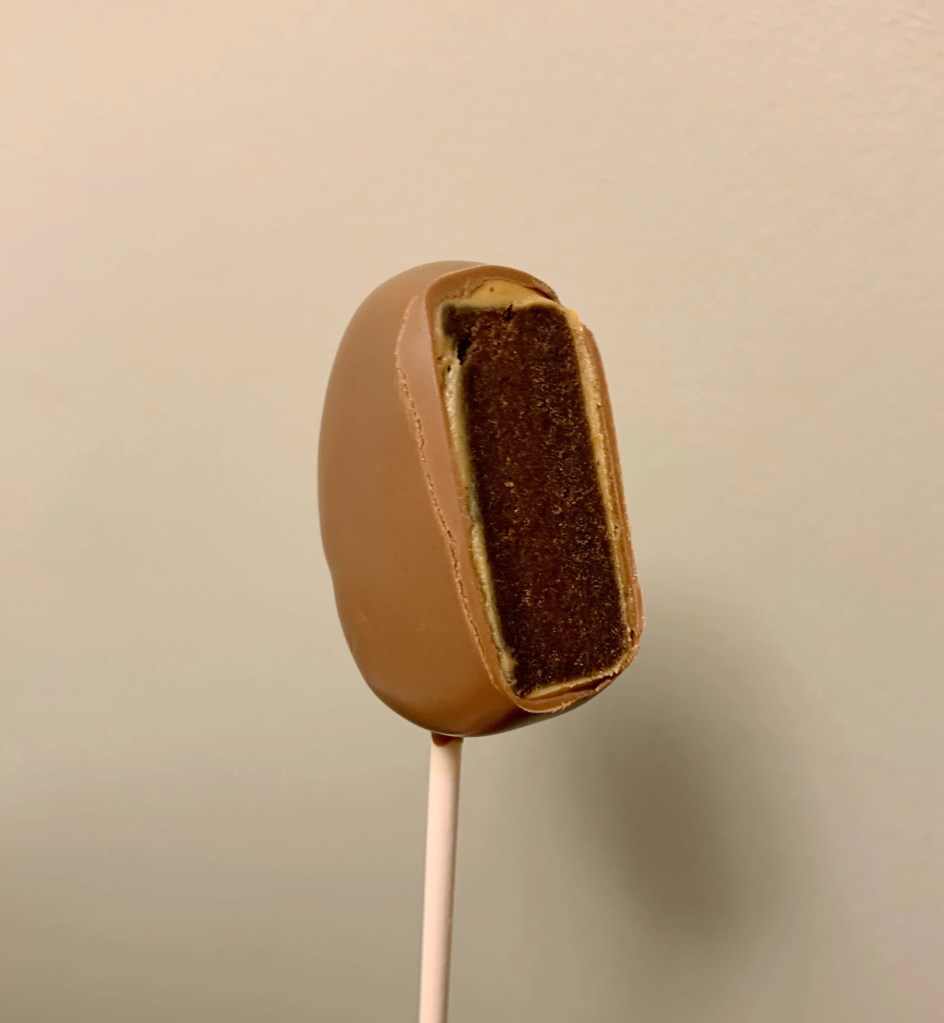
Using 1/2″ thickness and 1.75″ circle, you get a perfect 1 ounce cake pop disk that is now ready for dipping and decorating!
Some of the links above are affiliate links. This means that, at no cost to you, I will earn an affiliate commission if you click through the link and finalize a purchase.


Leave a comment