
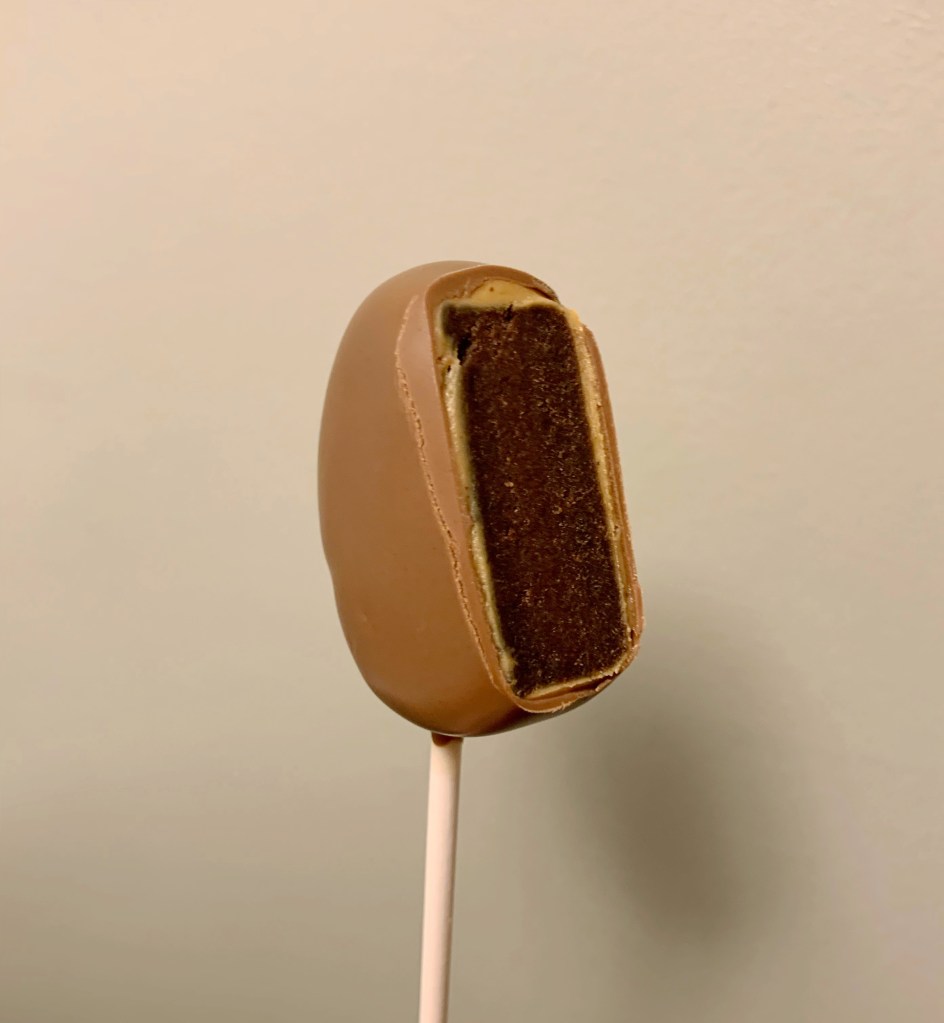
It all starts with chocolate cake, a thin layer of peanut butter, and topped with milk chocolate candy coating. I am not kidding when I say this is my new favorite flavor combination of cake pops!
supply list:
- Cake pop sticks
- Scribe tool or toothpick
- Creamy Peanut Butter of your choice (I prefer JIF)
- Microwave safe dishes
- Milk chocolate melting wafers
- Cake pop stand (to hold cake pops to dry)
For directions on how I make my cake pop dough, click here! Continue below to continue reading the steps!
step-by-step:
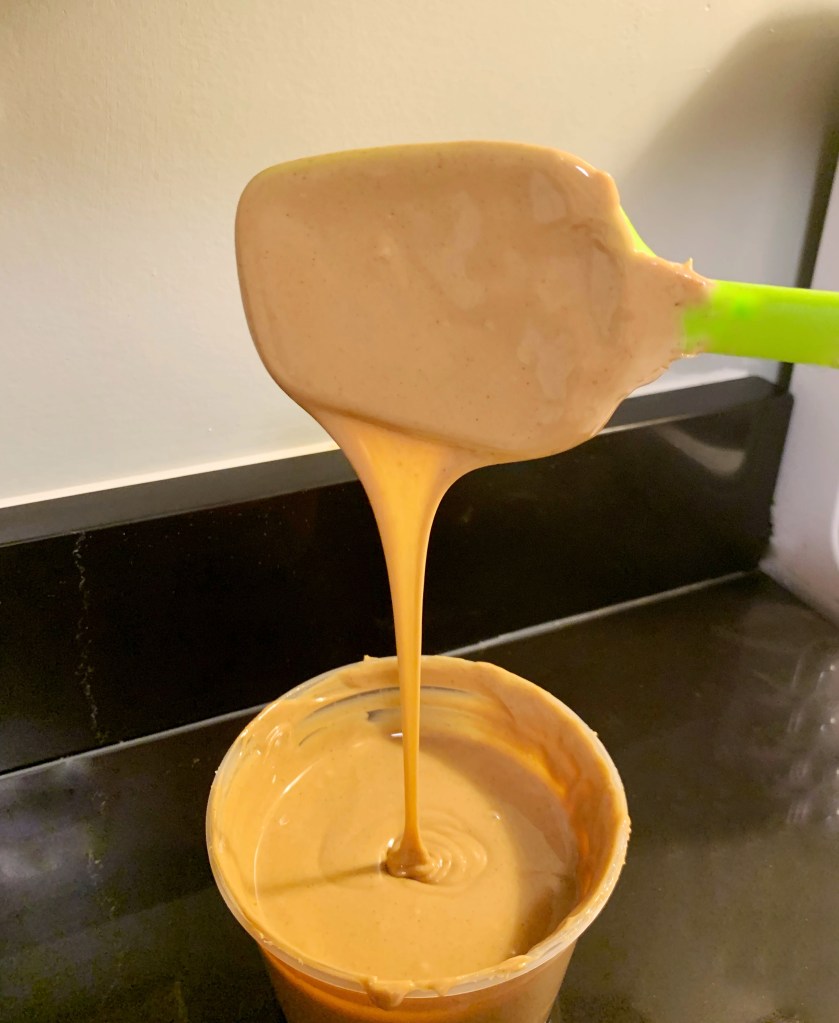
- Add peanut butter to microwave safe dish. Add enough peanut butter to be able to dip cake pops
- Microwave for 15 seconds at a time, and stir. Microwave until peanut butter is runny and fluid
2. Create cake pop disks using chocolate cake pop dough
For instruction on how I make my cake pop disks, click here!
3. Dip a cake pop stick in the melted peanut butter, and insert stick halfway into cake pop disk. Let dry on cake pop stand.

4. Dip cake pop into melted peanut butter. Tap off excess. Place back on cake pop stand to set for a few minutes
Note, peanut butter will “set” but not completely harden

5. Melt milk chocolate melting wafers
Microwave – Using 50% power, put in for 30 seconds. STIR. Put in for 20 seconds. STIR. Melt for 15 seconds. STIR. Repeat until wafers are completely melted and fluid. DO NOT OVERHEAT
Crockpot – I personally use a crockpot to melt all my chocolates. It requires less maintenance during the melting process, and keeps the chocolate warm while dipping. See my blog post here about my crockpot!
6. Dip peanut butter covered cake pop into melted milk chocolate.
7. Tap off excess chocolate. Pop any air bubbles with toothpick or scribe.
8. Place in cake pop stand to dry.

9. Decorate! For these, I added some of the melted peanut butter to a ziplock bag. Make a small cut on one corner to drizzle. Add sprinkles of your choice.

Some of the links above are affiliate links. This means that, at no cost to you, I will earn an affiliate commission if you click through the link and finalize a purchase.

Leave a comment