
These Hello Kitty cake pops were a hit!
supply List:
- Cake pop sticks
- Scribe tool or toothpick
- Small detail paint brush or toothpick for eyes/whiskers
- White chocolate chips
- Bow silicone mold
- Black edible paint for eyes and whiskers
- Yellow confetti sprinkles for nose
- Stover & Company Sweet Shoppe Ultra White melting wafers
- Pink melting wafers for bow
For directions on how I make my cake pop dough, click here! Continue below to continue reading the steps!
step-by-step:
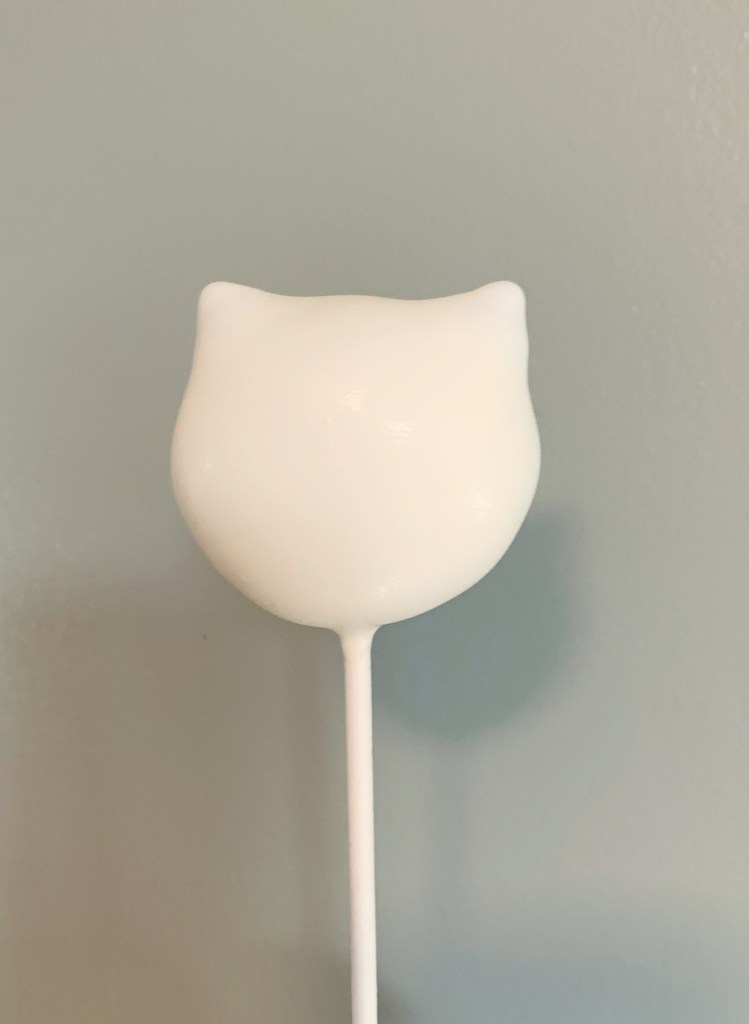
1. Mold cake pop dough. I use 1 ounce of dough, and rolled it into a flat circle shape for the Hello Kitty face.
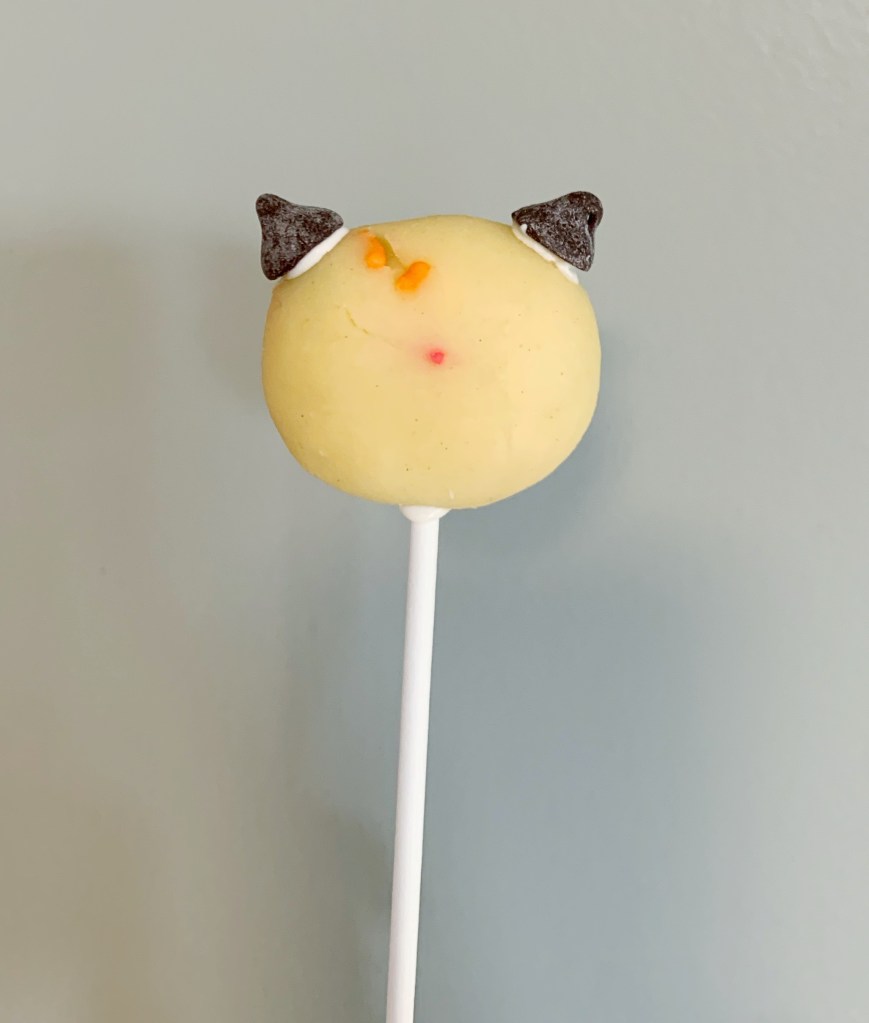
2. Using a small amount of melted chocolate, attach a regular size white chocolate chip on each side of the head as ears.
I used milk chocolate for mine, and it was semi-see through. I highly recommend white chocolate chips to prevent this!
3. Dip cake pop dough in white melting wafers. I use Stover & Company Sweet Shoppe Ultra White melting wafers. Pop any air bubbles with the toothpick or scribe tool.
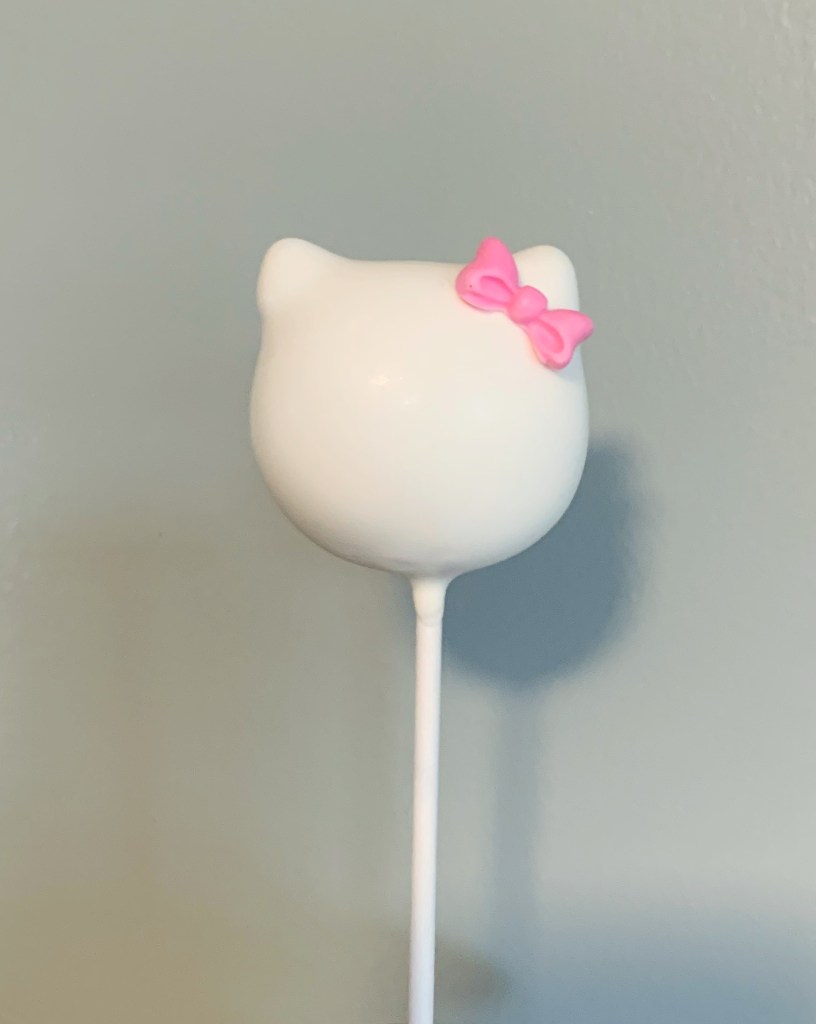
4. Using pink melting wafers, create the bow using a silicone mold. For this project, I used just the top half of the bow. Once dry, attach to Hello Kitty’s left ear using a small dab of melted chocolate.
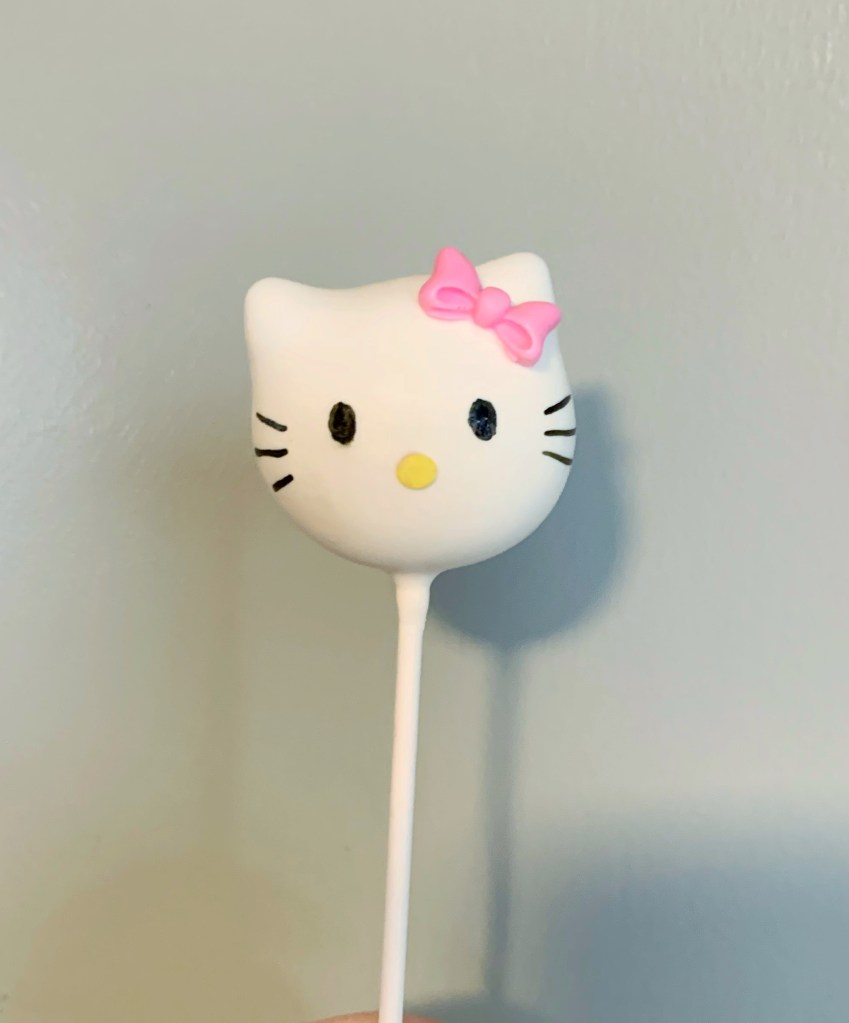
5. Using black edible paint and a small paintbrush or toothpick, make two ovals for the eyes and the whiskers.
Tip: If the ink isn’t settling nicely and it is pooling, wipe the area with a wet paper towel! It prevents this from happening and does not effect the white chocolate in any way!
6. Take a yellow confetti sprinkle, use a small bit of melted chocolate to attach as Hello Kitty’s nose.
Some of the links above are affiliate links. This means that, at no cost to you, I will earn an affiliate commission if you click through the link and finalize a purchase.

Leave a comment